As I stated in my last post, I needed an apron and I needed it fast and cheap. I had seen places where people had made aprons out of fat quarters and I thought "genius!".
Here is what I came up with:

The supplies are very simple. These are instructions for an adult. If you are making one for a child or a very petite adult then you could probably get away with only one fat quarter.
 *2 Fat Quarters
*1 Package of Bias Tape
*Ribbon
Iron your fabric really well to get those creases out. I also ironed my bias tape so that I could get rid of the creases from the packaging.
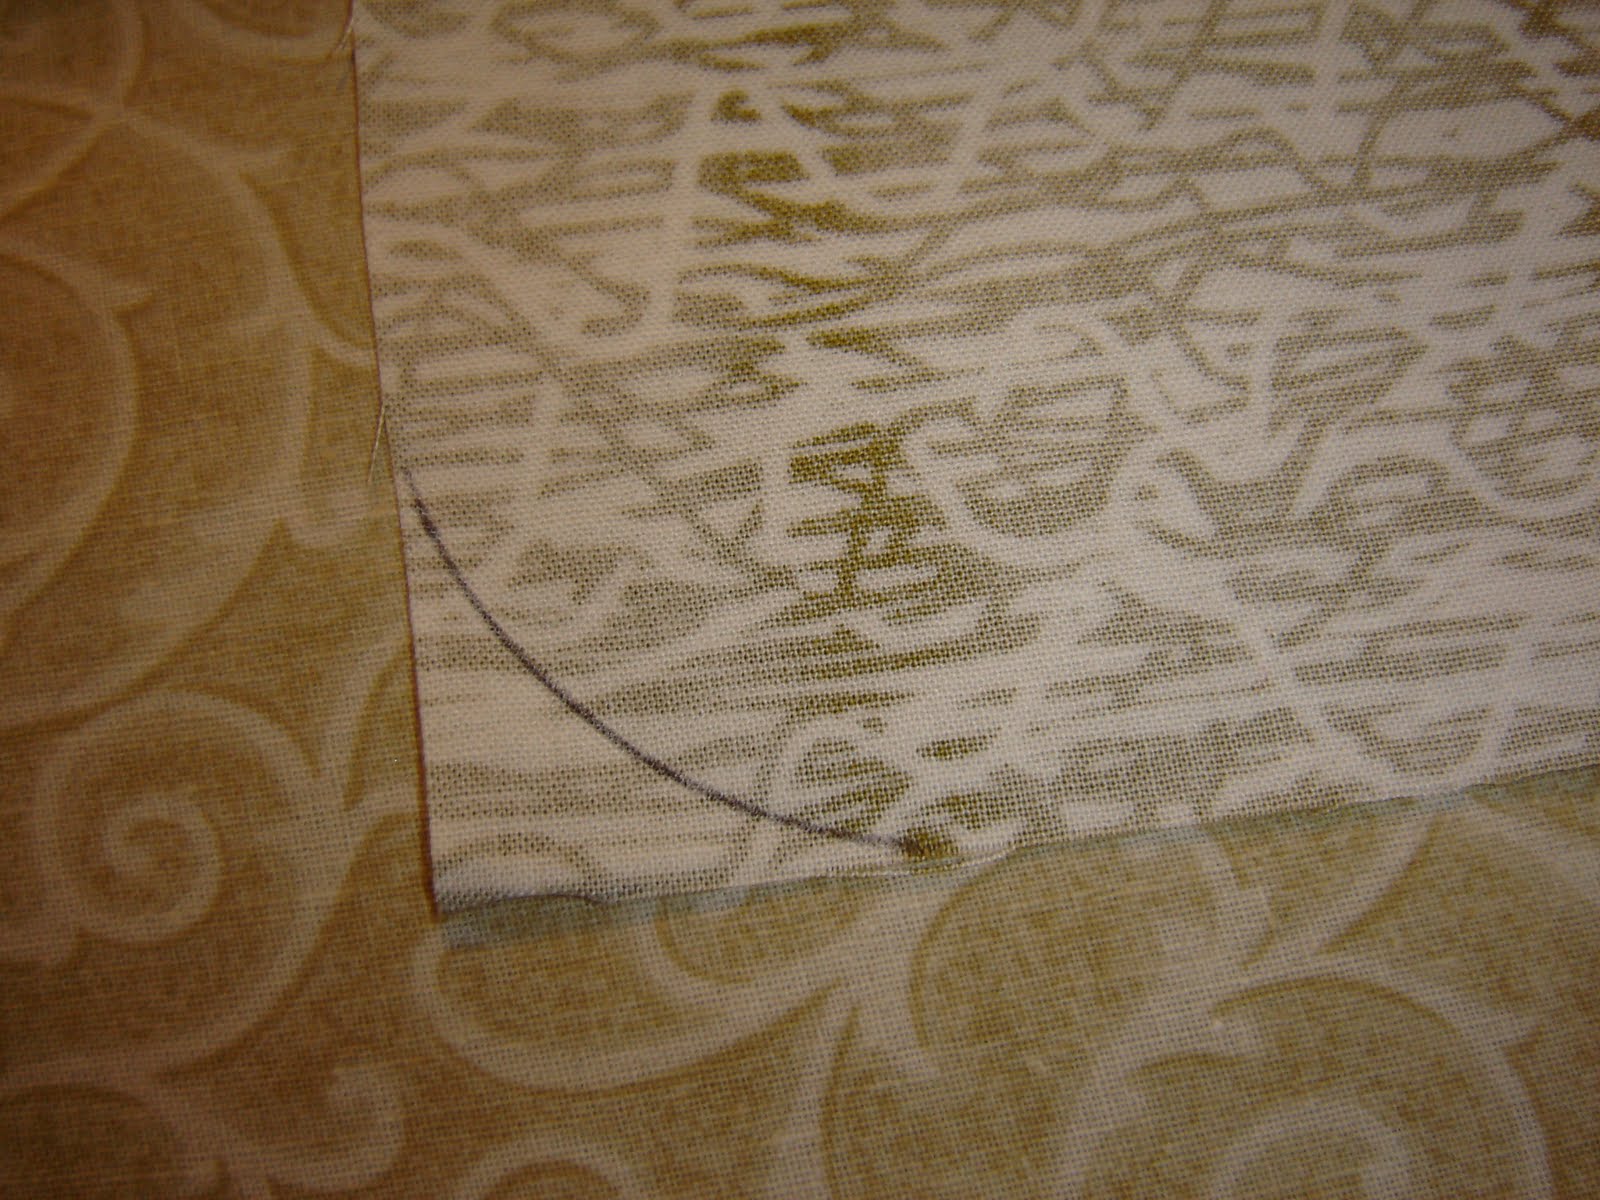
I chose to have my apron have a rounded edge on the bottom. If you choose to leave the fat quarter as it is then skip this step. I took my ribbon spool and used it as a template for my rounded corners. I traced it and then cut them.


A fat quarter is 18"x21" (I am pretty sure, or at least something like that). Take your
fat quarter that you want as your main fabric and find your longest side. Iron the top of this piece down twice so that you will not have a raw edge.

Now comes the fun part. I by no means consider myself profiecient in bias tape. In fact I really don't like using it. You could actually delete this step all together and serge your edges or fold them and iron them flat...but why do things the easy way :)
Take your tape and pin it all around the sides and bottom of your apron. I chose to machine stitch the entire piece (remember I needed it to be fast and easy) so I started by pinning it open on the backside of the fabric.
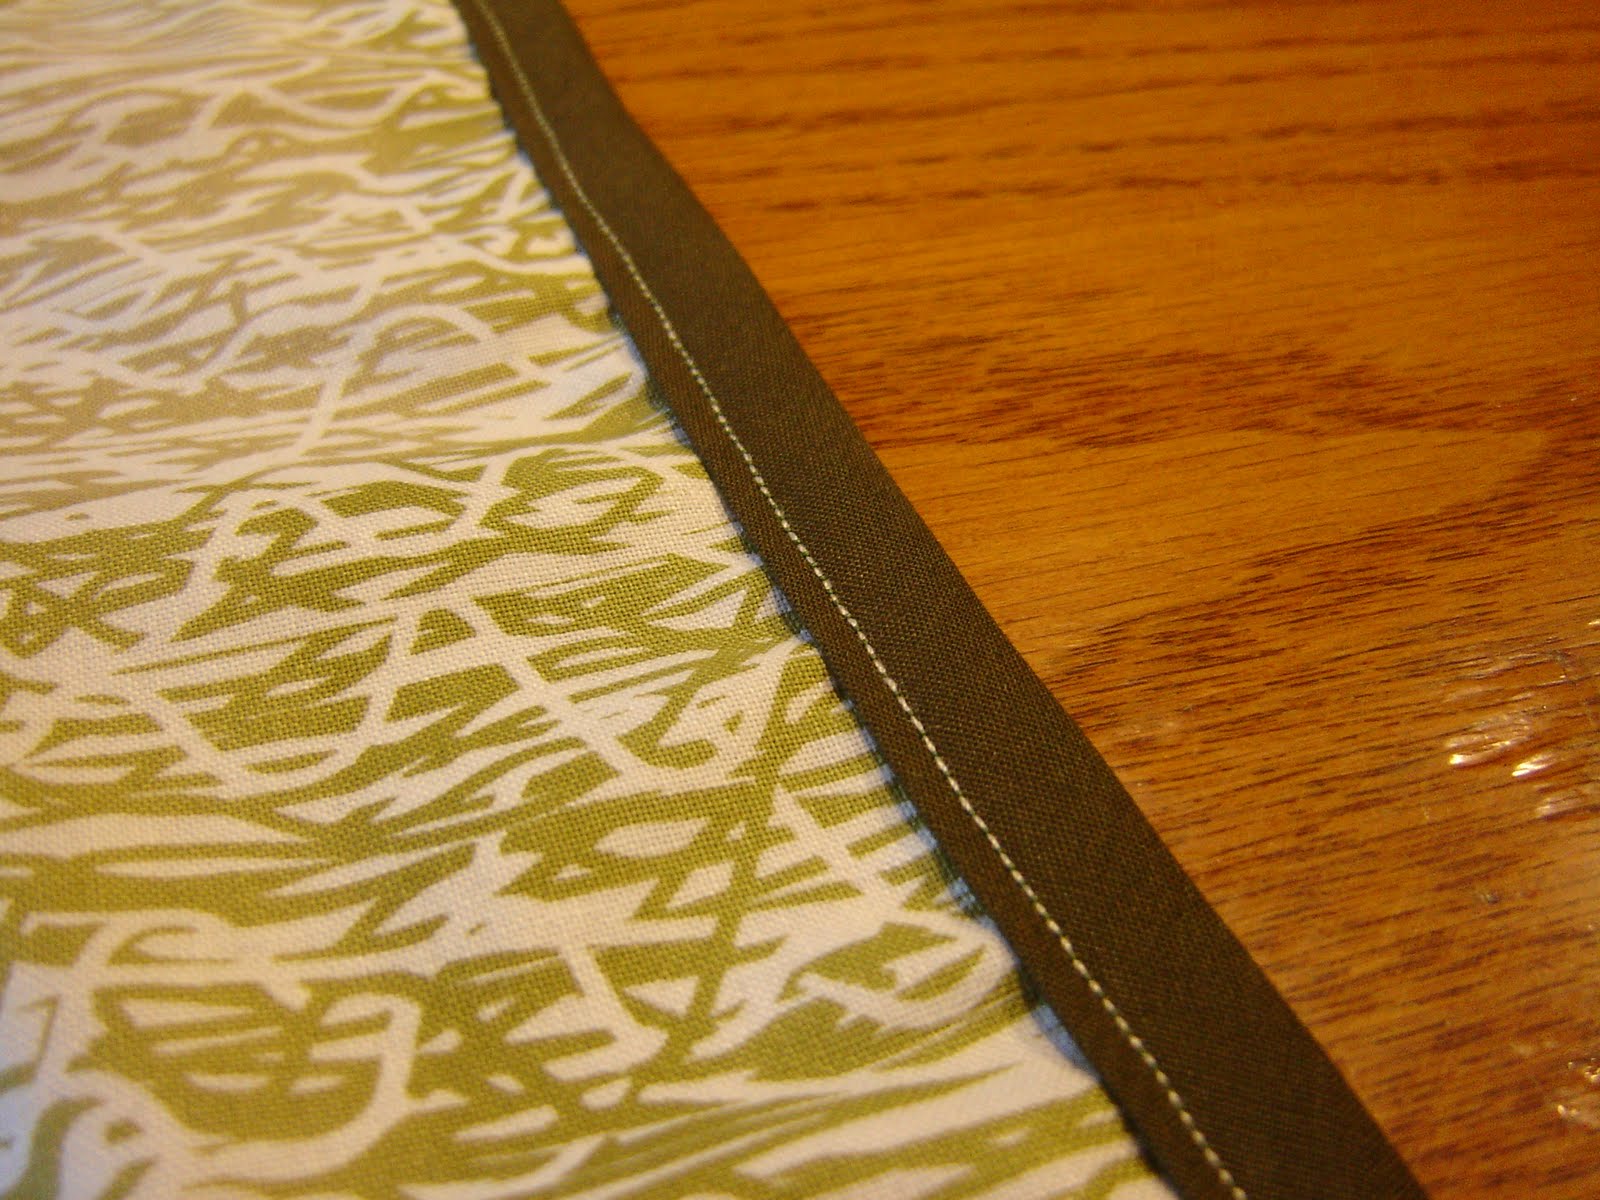
After pinning it, sew it in place. I chose not to stitch the tape in the ditch and instead stitched it in the middle.

Now fold your tape over and top stitch on the front.


Now take your ribbon and decide how much you need. I am VERY pregnant so I not only wanted it to have plenty of room to fit around my ever growing waist but I also wanted it to wrap around the front as well. Now top stitch your ribbon onto the top of your apron.

YAY! You have officially made an apron.
I needed pockets on mine so now we will move on to the pockets.
Taking your fat quarter in your contrasting color (or same if you choose) decide how large and how many pockets you are wanting. I wanted two and I chose to make them 6"x6". Mark your pockets and cut them out.


Now you are going to want to take three sides of the pockets and fold and iron them under around 1/8" to 1/4". This way you will not have a raw edge showing when you sew them on.
I had plenty of bias tape left over so I decided to sew some tape onto the tops of my pockets.

Folding over the ends of the bias tape, top stitch your pockets on to your apron.
Now you are done!
I'm sorry if I missed a step or wasn't very precise. I made this last night and wasn't able to post it at the time so I am doing this the next day.
Now it is time to set up for the big craft show I am a part of tomorrow. I am super excited but extremely nervous. My goal is to come home without any product tomorrow!!!
Here is what I came up with:

The supplies are very simple. These are instructions for an adult. If you are making one for a child or a very petite adult then you could probably get away with only one fat quarter.

*1 Package of Bias Tape
*Ribbon
Iron your fabric really well to get those creases out. I also ironed my bias tape so that I could get rid of the creases from the packaging.
I chose to have my apron have a rounded edge on the bottom. If you choose to leave the fat quarter as it is then skip this step. I took my ribbon spool and used it as a template for my rounded corners. I traced it and then cut them.

A fat quarter is 18"x21" (I am pretty sure, or at least something like that). Take your
fat quarter that you want as your main fabric and find your longest side. Iron the top of this piece down twice so that you will not have a raw edge.

Now comes the fun part. I by no means consider myself profiecient in bias tape. In fact I really don't like using it. You could actually delete this step all together and serge your edges or fold them and iron them flat...but why do things the easy way :)
Take your tape and pin it all around the sides and bottom of your apron. I chose to machine stitch the entire piece (remember I needed it to be fast and easy) so I started by pinning it open on the backside of the fabric.
After pinning it, sew it in place. I chose not to stitch the tape in the ditch and instead stitched it in the middle.

Now fold your tape over and top stitch on the front.
When I was looking for thread to somewhat match my apron I came across this awesome old spool that I am guessing was my granny's.

I also found this one. Look at that price tag! I wish I could get 8 spools of thread for only $1.00!!! Also, do you remember when Wal-Marts logo was more western? I do.

Now take your ribbon and decide how much you need. I am VERY pregnant so I not only wanted it to have plenty of room to fit around my ever growing waist but I also wanted it to wrap around the front as well. Now top stitch your ribbon onto the top of your apron.

YAY! You have officially made an apron.
I needed pockets on mine so now we will move on to the pockets.
Taking your fat quarter in your contrasting color (or same if you choose) decide how large and how many pockets you are wanting. I wanted two and I chose to make them 6"x6". Mark your pockets and cut them out.


Now you are going to want to take three sides of the pockets and fold and iron them under around 1/8" to 1/4". This way you will not have a raw edge showing when you sew them on.
I had plenty of bias tape left over so I decided to sew some tape onto the tops of my pockets.

Now you are done!
I'm sorry if I missed a step or wasn't very precise. I made this last night and wasn't able to post it at the time so I am doing this the next day.
Now it is time to set up for the big craft show I am a part of tomorrow. I am super excited but extremely nervous. My goal is to come home without any product tomorrow!!!
Comments
Post a Comment