I am giving my first tutorial today. Hopefully the instructions make sense. If there is something I missed please let me know and I will fix it.
This tutorial is for my XXS wet bag/snack bag.
Items Needed:
6"x6" square of outer fabric (cotton works best) (need 2)
6"x6" square of waterproof material, I used PUL (need 2)
7" zipper, or any length as long as it is at least 7"
thread
scissors
label (optional)
Step : Affix your label (optional). I highly recommend twostars321. I have ordered two different types of labels and have loved each.

Step 1: Take one piece of your outer fabric and one of your lining. Have the insides of the fabric touching. Now take your zipper and have it facing up. Place your fabric with the outside touching the zipper and line it up on the top half of the zipper.

Step 2: Stitch the three pieces together. I have never learned how to use a zipper foot so I adjust my needle to sew on the left hand side and run the foot next to the zipper. Once this is sewn flip the fabric over and top stitch the fabric onto the zipper. If you are wanting a decorative stitch, this is the time to do it.

Step 3: Now do all these steps over again with the other two pieces of fabric. When you are done your piece should look like this:

Step 4: Unzip your zipper half way. Pull both outside pieces and pin them with outsides touching. Now pin the inside layer with insides touching. Pin all these pieces and stitch together all sides minus the waterproof edge.

Step 5: Trim the zipper and corners. Now comes the somewhat tricky part. You will need to unzip your zipper the rest of the way and push your outer layer through the zipper.

Step 6: Fold in the edges on your inner layer and sew them shut. Push your inner layer through the zipper. Viola! You have your bag.


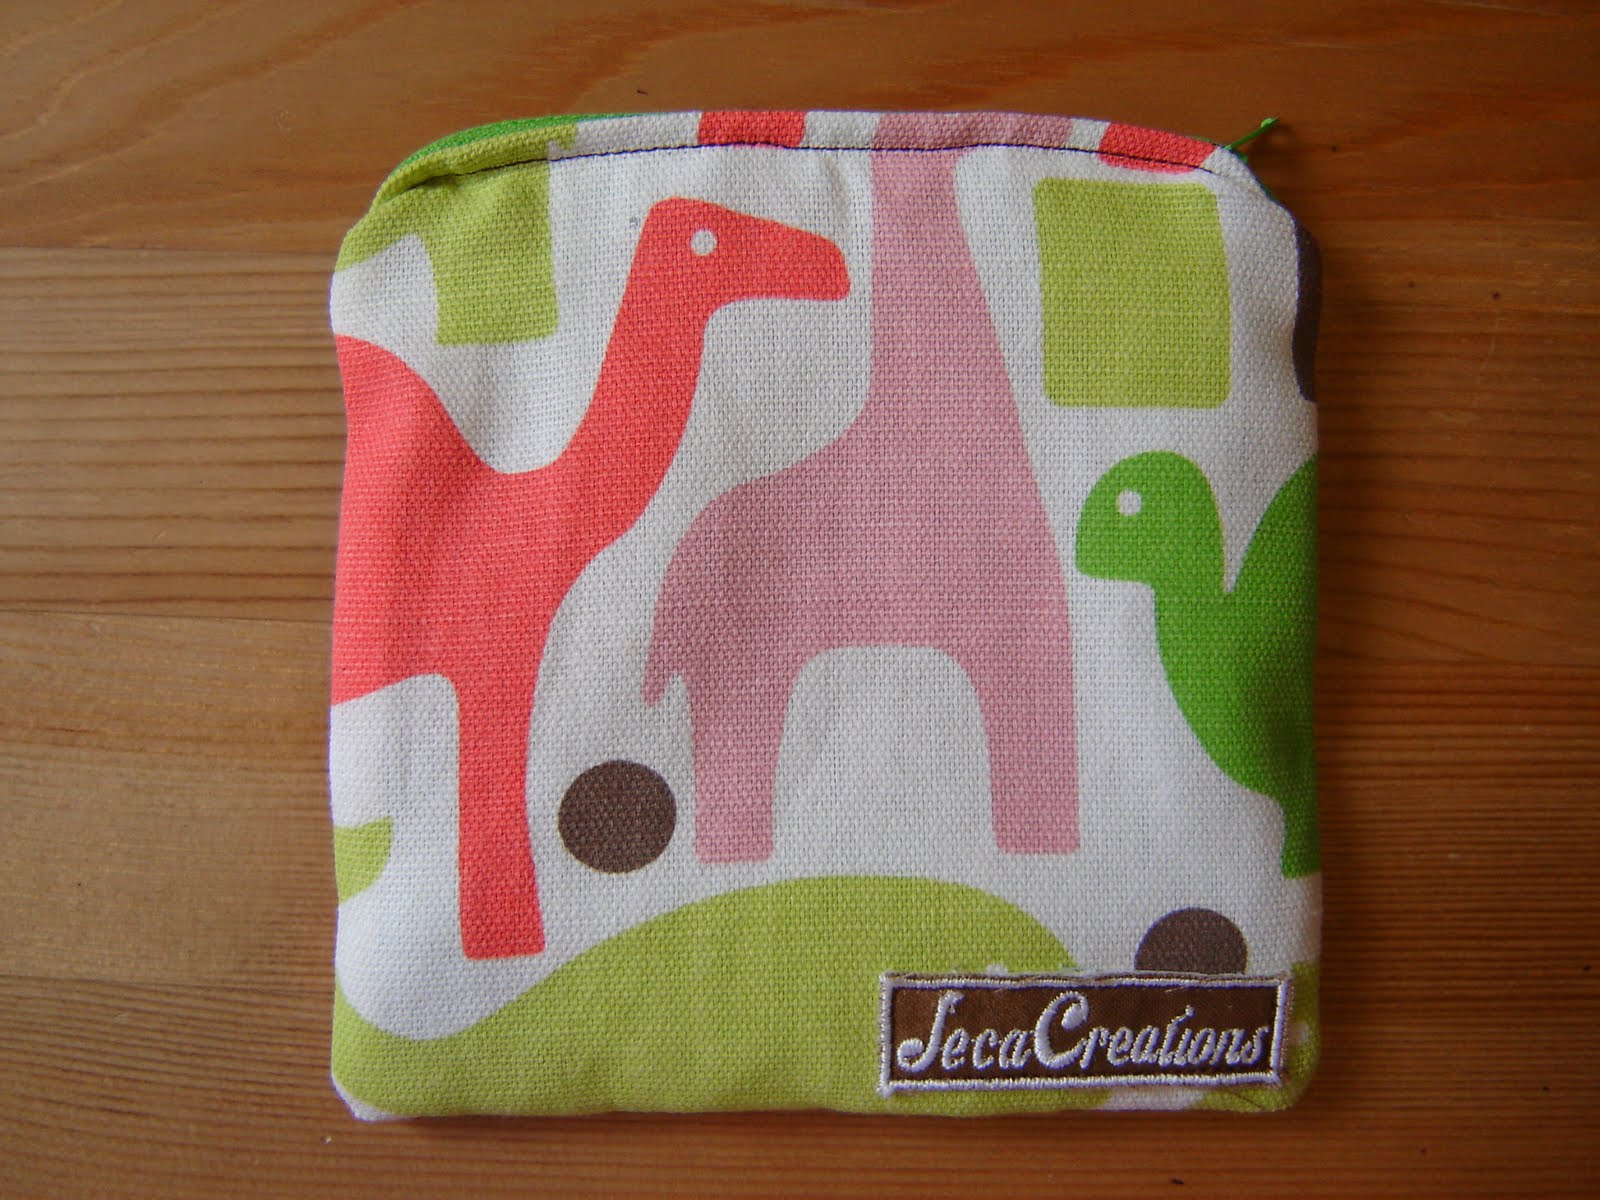
This bag can be machine washed and dried.
Would you like to win this bag? Once my facebook fan page gets to 100 fans I will be giving one lucky winner this little bag.
This tutorial is for my XXS wet bag/snack bag.
Items Needed:
6"x6" square of outer fabric (cotton works best) (need 2)
6"x6" square of waterproof material, I used PUL (need 2)
7" zipper, or any length as long as it is at least 7"
thread
scissors
label (optional)
Step : Affix your label (optional). I highly recommend twostars321. I have ordered two different types of labels and have loved each.

Step 1: Take one piece of your outer fabric and one of your lining. Have the insides of the fabric touching. Now take your zipper and have it facing up. Place your fabric with the outside touching the zipper and line it up on the top half of the zipper.

Step 2: Stitch the three pieces together. I have never learned how to use a zipper foot so I adjust my needle to sew on the left hand side and run the foot next to the zipper. Once this is sewn flip the fabric over and top stitch the fabric onto the zipper. If you are wanting a decorative stitch, this is the time to do it.

Step 3: Now do all these steps over again with the other two pieces of fabric. When you are done your piece should look like this:

Step 4: Unzip your zipper half way. Pull both outside pieces and pin them with outsides touching. Now pin the inside layer with insides touching. Pin all these pieces and stitch together all sides minus the waterproof edge.

Step 5: Trim the zipper and corners. Now comes the somewhat tricky part. You will need to unzip your zipper the rest of the way and push your outer layer through the zipper.

Step 6: Fold in the edges on your inner layer and sew them shut. Push your inner layer through the zipper. Viola! You have your bag.

This bag can be machine washed and dried.
Would you like to win this bag? Once my facebook fan page gets to 100 fans I will be giving one lucky winner this little bag.
Comments
Post a Comment